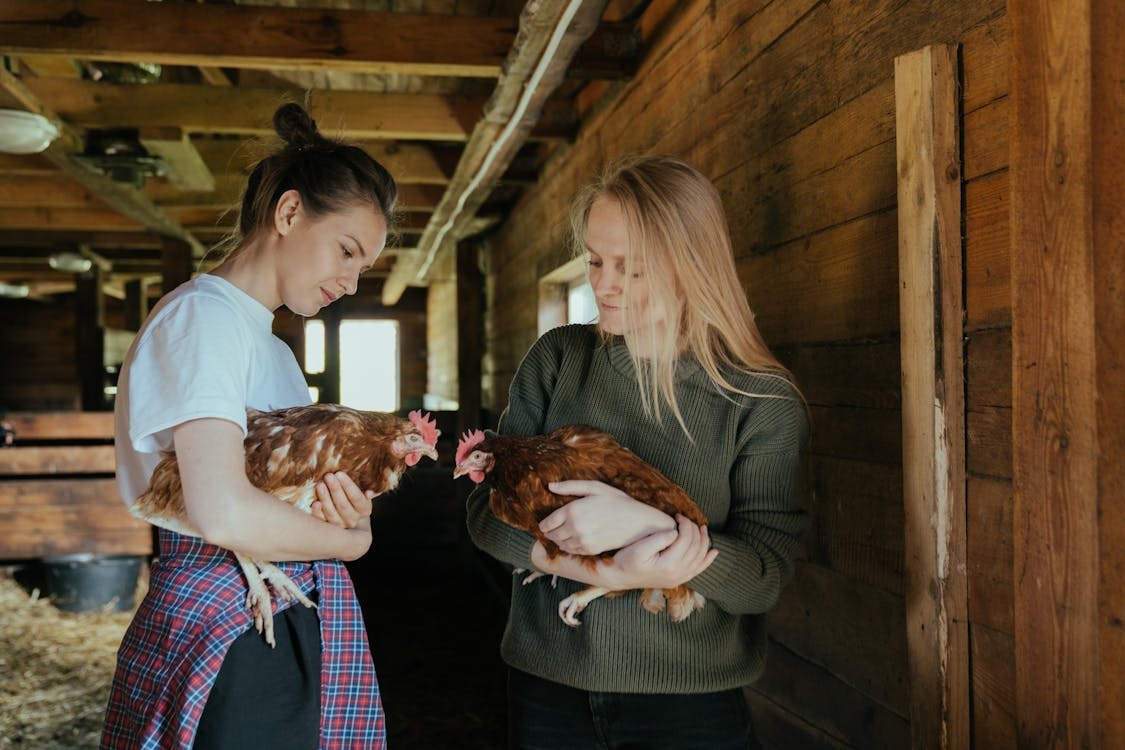
How to Winterize a Chicken Coop

Winter is coming, and while your chickens are tougher than they look, they still need a cozy space to get through those chilly months. Preparing your chicken coop for winter doesn’t have to be complicated or expensive. With a few simple steps, you can make sure your poultry stays warm, safe, and happy, even when the snow starts falling.
Ready to get started? Let’s dive into everything you need to know about winterizing a chicken coop.
Why Winterizing is Important
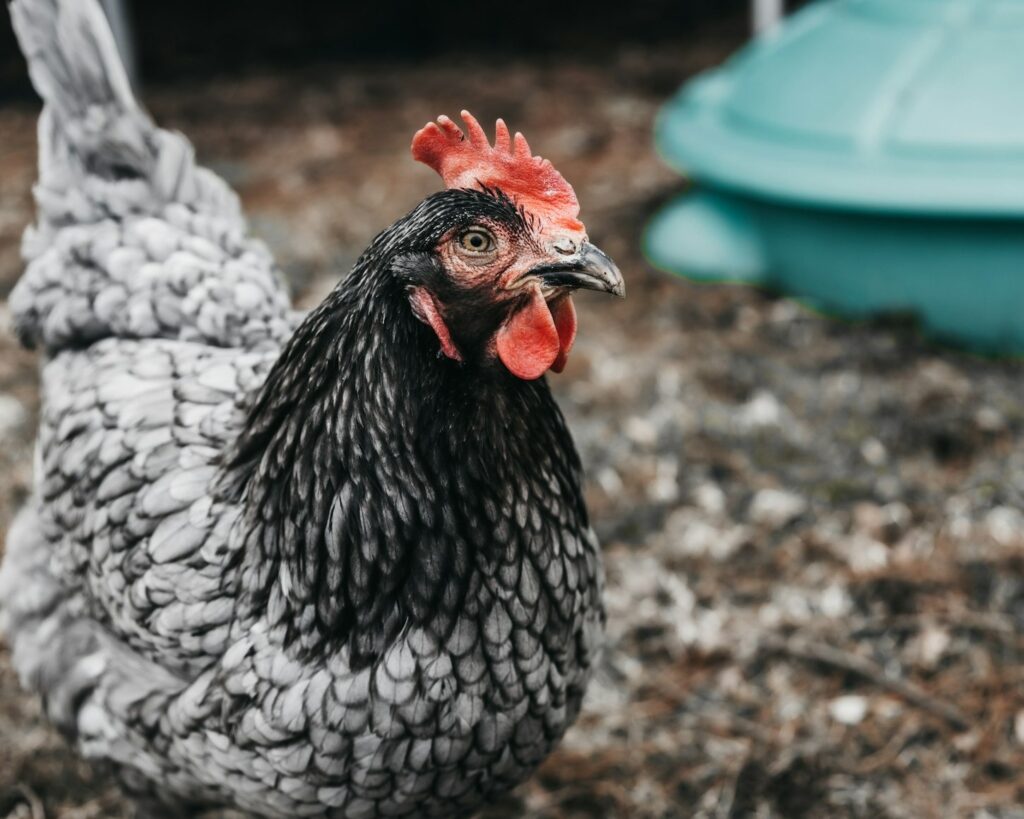
Chickens are pretty hardy creatures, but freezing temperatures and drafts can cause serious issues. Frostbite, respiratory problems, and stress can affect your flock if their coop isn’t ready for winter.
A winterized coop helps maintain a stable temperature and keeps the cold and moisture out. Plus, it ensures your hens keep laying eggs during the season—it’s a win for everyone!
Step 1: Inspect and Repair the Coop
Before you do anything else, give your backyard chicken coop a good once-over. Look for:
- Cracks or gaps in the walls and roof where cold air can sneak in.
- Leaks that could let water inside and make things damp.
- Loose doors or windows that might let in drafts.
Seal up any cracks with caulk or expanding foam and make sure the roof is watertight. If you spot any weak areas in the structure, fix them up now to avoid bigger problems later.
Step 2: Add Insulation
Insulating your coop helps trap heat and keeps your chickens comfortable. You don’t need fancy materials—many things you already have at home can do the trick.
- Use foam boards, cardboard, or straw bales to insulate walls.
- Cover insulation with plywood to prevent chickens from pecking at it.
- Line windows with bubble wrap to keep the warmth in while still letting light through.
Remember, insulation doesn’t mean sealing the coop airtight. Chickens still need ventilation (we’ll get to that next).
Step 3: Check Ventilation
Good ventilation is a must, even in winter. Chickens produce moisture from breathing and droppings, and without proper airflow, that moisture can build up and freeze. This can lead to frostbite on their combs and wattles.
Make sure your coop has small vents or openings near the roof to allow fresh air to circulate. Just ensure these vents are above the chickens’ roosting area so cold drafts don’t blow directly on them.
Step 4: Deepen the Bedding
A thick layer of bedding acts like a natural insulator for your hen coop. Use materials like straw, pine shavings, or hay. You can also try the deep litter method:
- Start with a layer of clean bedding.
- Add more bedding on top as it gets soiled, instead of fully cleaning it out.
- The bedding breaks down over time, creating heat that warms the coop.
This method not only keeps your chickens warm but also makes spring cleaning easier!
Step 5: Block Drafts
Drafts are a chicken’s worst enemy in winter. Even small gaps around doors or windows can make the coop uncomfortably cold. Use weatherstripping or draft stoppers to seal around doors and windows.
For extra protection, consider hanging an old blanket or tarp over the door at night to keep out icy gusts.
Step 6: Keep the Water From Freezing
Frozen water can be a real headache in winter. Chickens need access to fresh water throughout the day, but freezing temperatures can turn their waterers into solid blocks of ice.
- Invest in a heated waterer to keep water thawed.
- Place water containers on a heated base if you have power in the coop.
- If that’s not an option, swap out frozen waterers with fresh ones a couple of times a day.
Step 7: Add a Windbreak
If your coop is in a windy spot, setting up a windbreak can make a big difference. You can use:
- Straw bales stacked around the outside of the coop.
- A temporary wall made of plywood.
- A tarp or plastic sheeting to block the wind.
This not only keeps the coop warmer but also makes the surrounding area more comfortable for your chickens if they venture outside.
Step 8: Provide Extra Roosting Space
Chickens naturally huddle together on roosts to stay warm. Make sure there’s enough roosting space for everyone so they don’t have to compete for a spot.
Position the roosts away from any drafts, and consider adding a wider perch, as chickens can sit on their feet to keep them warm.
Step 9: Light it Up
Winter days are shorter, and chickens need about 14-16 hours of light to keep laying eggs. Adding a soft light in the coop can help maintain their egg production.
Use a timer to turn the light on in the morning and off in the evening. Stick to a low-wattage bulb to avoid overheating or stressing your flock.
Step 10: Keep the Coop Clean and Dry
Moisture is your enemy in winter—it makes the coop colder and can lead to frostbite and illness. Regularly clean out wet bedding, fix leaks, and check for signs of dampness.
Dry bedding, walls, and nesting boxes will help keep your chickens warm and healthy.
Bonus Tip: Don’t Overdo It
It’s tempting to go all out with heaters and insulation, but remember that chickens are built to handle cooler temperatures. Overheating the chicken coop can make them less resilient to cold weather.
Aim to keep the coop comfortable, not toasty, and let your flock’s natural hardiness shine.
Wrapping It Up
Winterizing your chicken coop might take a little effort, but it’s worth it to keep your flock happy and healthy through the colder months. By sealing up drafts, adding insulation, and keeping water from freezing, you’ll create a cozy space where your chickens can thrive—even when it’s snowing outside.
Want to keep your chickens happy, healthy, and comfortable all year long? Check out more tips and guides at Poultryperch for everything you need to care for your flock like a poultry pro!