Raising baby chicks is a joyful experience. But these little fluffballs need care, warmth, and attention to grow into healthy, happy chickens. If this is your first time raising baby chicks, you might be wondering how to keep them safe, what they eat, and how to make sure they thrive. Don’t worry—this guide will walk you through every step of raising chickens for beginners, so you’ll feel confident from the moment they arrive at your home until they’re ready to join the adult flock in the coop.
Where to Buy Baby Chicks
Now, you might be wondering ‘where to get a chick’? If you’re planning on buying baby chicks, choosing the right place is important for getting healthy, well-cared-for birds. Here are some trusted options:
- Local Farmers: Buying from local farmers is a fantastic way to support small businesses and often means getting chicks raised with care. Many farmers are happy to show you their setup, so you can see that the chicks are healthy and in clean conditions. Plus, they can give you helpful, firsthand advice on caring for specific breeds.
- Hatcheries: Hatcheries are a popular choice if you’re looking for specific breeds. Many hatcheries allow you to order online and have chicks shipped directly to your local post office. Reputable hatcheries often vaccinate chicks and prioritize their health, making them a good option, especially if you’re new to raising chicks.
- Feed Stores: Local feed stores usually carry chicks during spring and early summer, making it easy for beginners to pick up a few. These stores often work with reputable hatcheries, and the staff can offer advice on raising and feeding.
When to Buy Baby Chicks
Consider whether you want day-old chicks, ready-to-lay pullets, or mature hens, each with its benefits:
- Day-Old Chicks: Hatcheries and farm suppliers offer day-old chicks, typically costing less than $3 each. They’re affordable and come with the experience of raising them from the beginning. However, you’ll need to wait about six months before they start laying eggs. Many farm suppliers place orders once or twice a year, so you can easily plan around these times and buy chicks where you plan to get your feed.
- Ready-to-Lay Pullets: These 20-week-old pullets are just about to begin laying. Although they’re pricier than day-old chicks, you get eggs sooner, and they’re ready to go straight into the coop. Pullets are also all female, so there’s no guessing about who will be laying eggs in your flock. You can order these through your local farm supplier or directly from a hatchery.
- Mature Hens: Fully mature hens are harder to find unless a local farmer is rehoming older hens. Battery hens, which are often kept in small cages and overworked in egg production, aren’t recommended for a farm flock due to the stress and health issues they often face.
How to Raise Chickens for Eggs
Hatching your own chicks can be a fun and rewarding way to start or expand your flock. It requires an incubator or a broody hen willing to sit on the eggs until they hatch. If you’re using an incubator, it should keep the eggs warm at around 99.5°F and maintain humidity levels of 50-55% for the first 18 days, increasing slightly toward the end.
Eggs need to be turned gently several times a day to ensure proper development. If you have a broody hen, she’ll do most of the work herself, sitting on the eggs to keep them warm and turning them instinctively.
After 21 days, the eggs should begin to hatch, and the chicks will start pecking their way out of the shells. It’s exciting to watch, but try not to interfere, as chicks need time to break through on their own.
Once they hatch, they’ll need a warm brooder box, food, and water just like store-bought chicks. Hatching and caring for a chick at home gives you a close-up view of the chicks’ earliest days and lets you raise them from the very beginning.
What is a Brooder?

Now let’s come over to the equipment you will need for raising baby chicks at home. A brooder is a cozy, safe space where baby chicks spend their first few weeks. Since they can’t regulate their body temperature yet, a brooder provides the cozy, controlled environment they need to grow and stay healthy.
A brooder mimics the warmth and protection that a mother hen would naturally give, allowing chicks to develop until they’re strong enough to handle life outdoors. Besides warmth, a brooder also keeps chicks safe from predators, drafts, and sudden temperature changes.
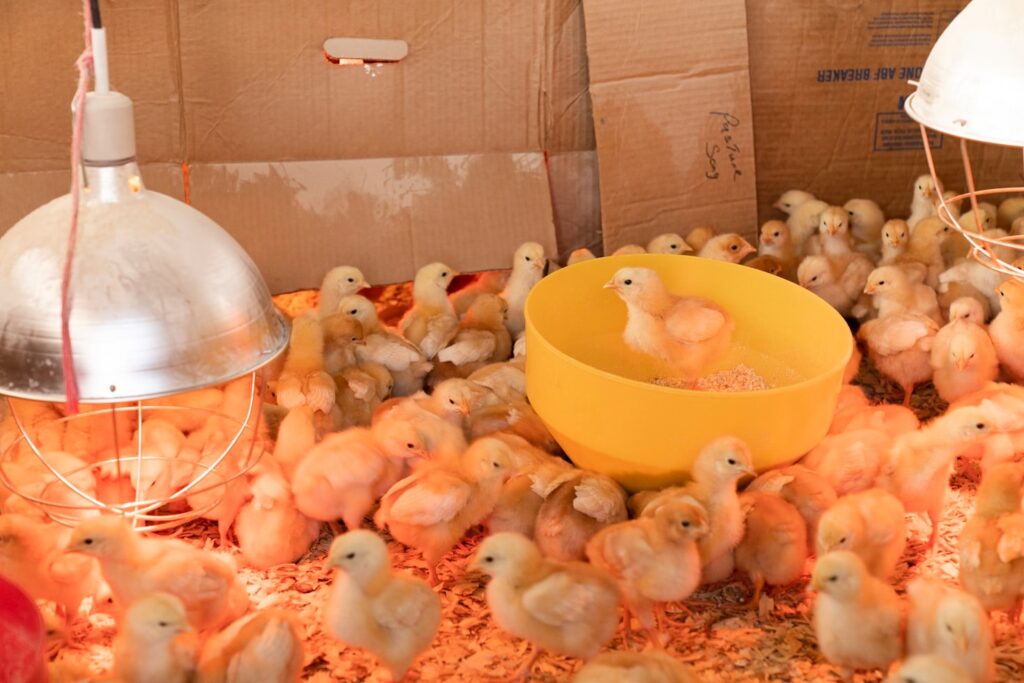
Most brooders are simple setups, like a large plastic bin, cardboard box, or even a kiddie pool—anything that’s easy to clean, big enough for the chicks to move around, and tall enough to keep them safely contained.
Along with a heat source, like a heat lamp or heating plate, the brooder will hold bedding, feeders, and a waterer. This setup gives chicks everything they need, allowing them to eat, drink, explore, and sleep in a safe, comfortable space until they’re ready to transition to the coop.
How to Set Up a Brooder
Setting up homemade chick brooders is straightforward and sets the stage for your chicks to thrive. Start by choosing a container big enough for the chicks to move freely but secure enough to keep them safe. A large plastic bin, cardboard box, or kiddie pool works great. Line the bottom with pine shavings or paper towels (but skip cedar, which can be harmful) to keep things clean.
Next, add a heat source, like a heat lamp or heating plate, on one side, so chicks can move closer if they’re cold or farther away if they’re too warm. Place shallow feeders and waterers where they’re easy to reach, adding marbles or stones in the waterer to prevent drowning. With this setup, your brooder will be a warm, safe place for your chicks to eat, rest, and grow.
How Long Do Baby Chicks Need a Heat Lamp?
Baby chicks need a heat source, like a heat lamp or heating plate, for their first few weeks to stay warm. In their first week, keep the temperature around 95°F, then lower it by 5°F each week. By the time they’re fully feathered, usually around 6-8 weeks, they should be able to handle normal temperatures without extra heat.
If the weather outside is warm, they might be ready to go without a heat source sooner, but in cooler climates, they may need it longer. Pay attention to how they behave; if they’re huddled close to the heat, they’re still chilly, but if they’re spread out and avoiding it, they’re likely warm enough.
What Are the Stages Baby Chicks Go Through?
Baby chicks go through several distinct stages as they grow into adult chickens, each with its own unique behaviors and needs. This timeline also gives you information on raising baby chicks week by week.
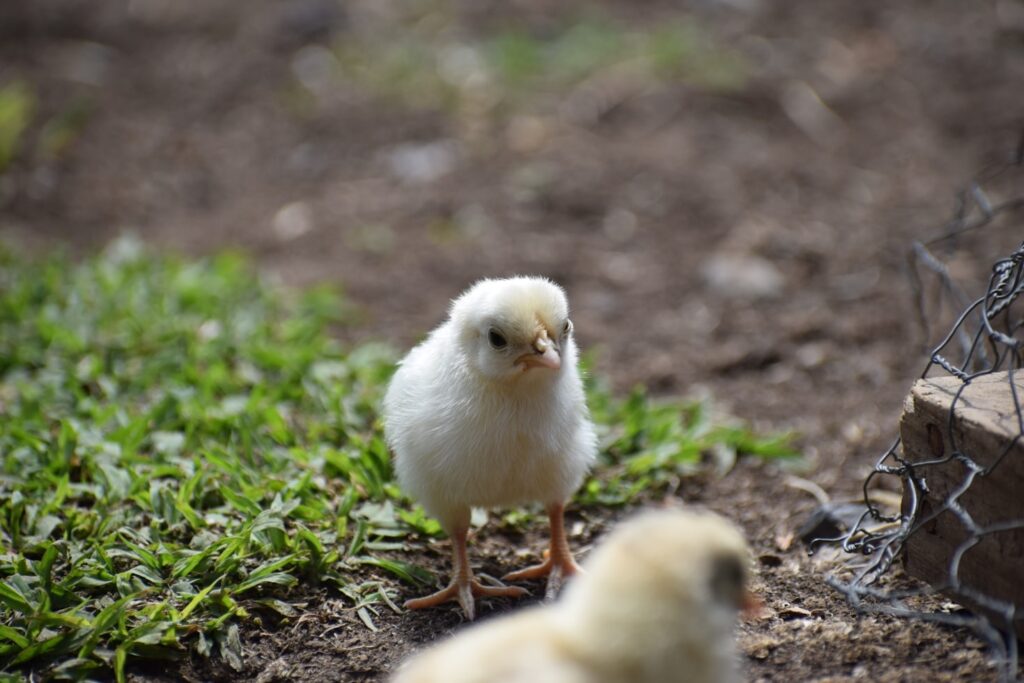
- In the first week, chicks are small, fluffy, and very delicate. They rely on a heat source to stay warm, and they’re still figuring out how to eat, drink, and explore their surroundings.
- By the second week, they start becoming more curious and active, pecking and scratching around their brooder as they develop their foraging instincts.
- Around the third and fourth weeks, chicks begin growing feathers to replace their down, making them look a bit scruffy. They’ll also become more adventurous and may start trying to perch.
- By six to eight weeks, they’re fully feathered and ready for short trips outdoors in mild weather to help them adjust to their new surroundings.
- Once they reach 20 weeks, chicks become “pullets” and are nearly ready to start laying eggs if they’re females.
What Do Chicks Eat
Baby chicks need a special “starter” feed to support their rapid growth, which you’ll find in medicated or non-medicated versions. Medicated feed helps prevent certain diseases, but if you can keep a healthy flock without it, non-medicated feed is a good choice. Alongside feed, always provide fresh water, as hydration is essential for healthy development.
Once the hens reach about five months and begin laying eggs, it’s time to switch from baby chicken food to layer feed, which contains at least 16% protein to support egg production.
You can also supplement their diet with grains like oats, corn, barley, and wheat, or add some nutritious extras like alfalfa meal and fish meal.
Kitchen scraps, such as fruit and vegetable peels or leftover bread, can be a tasty treat for chickens. However, avoid raw potato peels (they’re hard to digest), garlic and onions (which can affect egg flavor), and anything spoiled. Store-bought feed has all the essential nutrients, including phosphorus and salt, so additional grit usually isn’t necessary.
Keeping the Brooding Box Clean
Chicks are sensitive to dust, moisture, and waste buildup, which can quickly lead to illness if not managed properly. Start with daily maintenance by refreshing their water and food, and remove any droppings or wet bedding. A quick daily check keeps their space fresh and reduces odors.
Once a week, do a thorough clean-out of the brooder: replace all bedding, scrub the feeder and waterer, and check for any buildup in hard-to-reach spots. Regular cleaning minimizes the risk of respiratory issues, which are common in chicks exposed to dusty or dirty environments.
As your chicks grow, keeping a clean space will also make transitioning them to the coop easier and healthier.
Pasty Butt
Pasty butt may sound silly, but these baby chick poop problems are actually a serious issue that can quickly become life-threatening if ignored. Essentially, it’s when droppings stick around their vent area, blocking them from eliminating waste. Left untreated, this can lead to discomfort and health problems.
To prevent issues, check each chick daily, especially during the first week, when they’re most vulnerable. If you spot pasty butt, use a warm, damp cloth or cotton ball to gently clean the area. Hold the chick softly, dry the area, and make sure they’re warm and cozy before placing them back.
Often, a calm, warm environment with clean bedding helps prevent it, and some chick owners swear by adding a bit of apple cider vinegar to their water for better digestion.
Things to Remember
Here are some key things to remember to keep your chicks happy, healthy, and growing strong.
First, be prepared before the chicks arrive. Having their brooder set up ahead of time will make their arrival much smoother. Gather everything you need: feeders, waterers, a heat source, and bedding, as well as informative tips on how to make a brooding box . This way, when your chicks come home, they’ll settle right into a warm, comfortable environment.
Next, make sure you have the proper space. Baby chicks need enough room to move around, explore, and find the warmth they need.
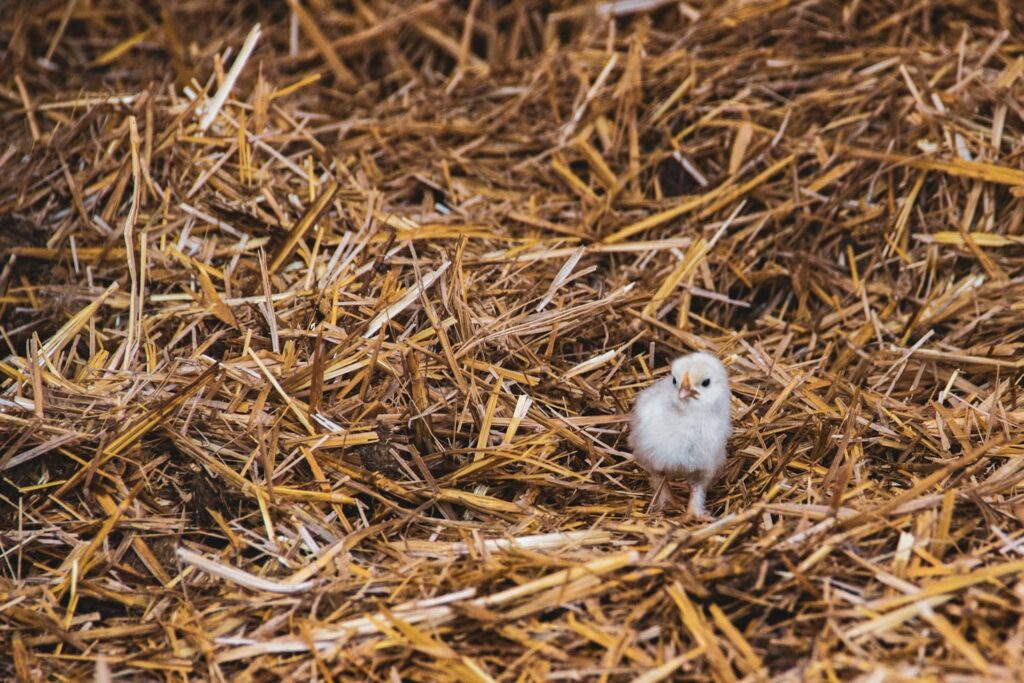
Choosing the right bedding or litter is also crucial. Pine shavings or paper towels make for comfortable, absorbent bedding that’s easy to clean. Avoid cedar shavings, as these can harm the chicks’ respiratory systems. Keep bedding clean to reduce dust and ammonia, which can cause health issues.
Providing adequate heat is essential since chicks can’t regulate their body temperature. Use a heat lamp or heating plate to keep the brooder at about 95°F for the first week, then lower it by 5°F each week as they grow.
Finally, remember that water is the most important nutrient. Fresh, clean water should always be available. Chicks can dehydrate quickly, so check their waterer often and make sure it’s within easy reach. Adding small stones in the waterer can prevent accidental drowning.
Later Care for Baby Chicks
As baby chicks grow, their needs start to change, and so does the care you provide. Around 3-4 weeks old, they become curious little adventurers, exploring their space and developing unique personalities.
This is a great time to gradually introduce small perches in their brooder, giving them a chance to practice roosting and strengthen their balance—a skill they’ll need when they move to the coop.
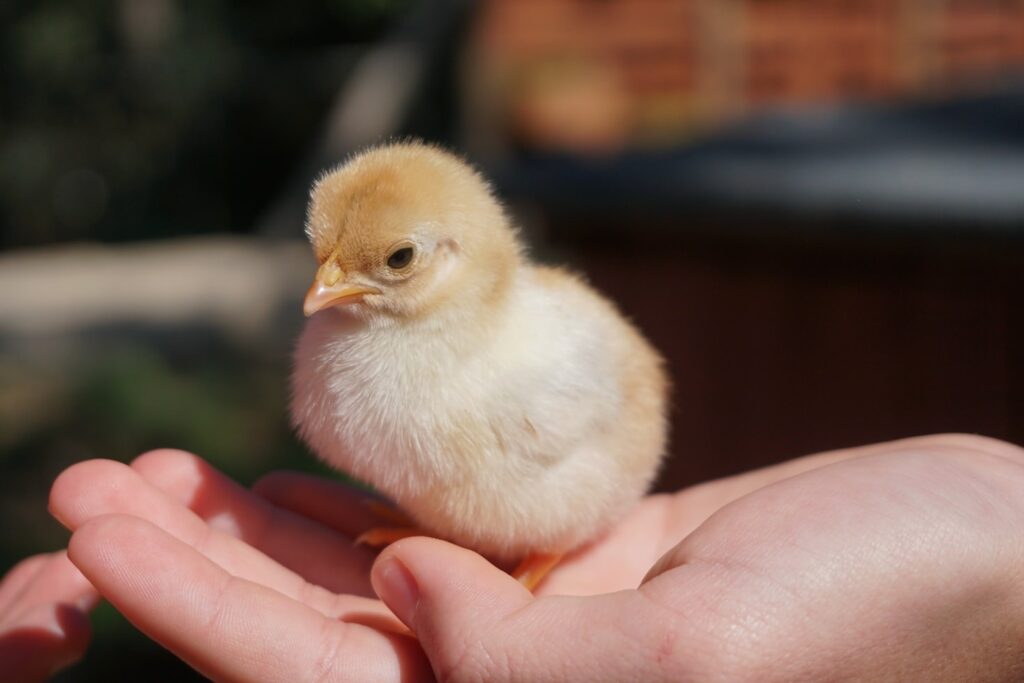
Socializing is key at this stage too. Spend time gently handling each chick, allowing them to get used to you. This builds trust and makes them friendlier adult chickens.
Lastly, check their diet. As they approach eight weeks, you can transition from starter feed to grower feed, which has a bit less protein but still supports healthy growth.
Conclusion
With these steps, you’ll raise healthy, happy chickens that are a delight to have in your poultry. Raising chicks can be a bit of work, but the joy they bring and the eggs they’ll eventually provide make it all worthwhile. Whether you’re raising chickens for eggs and meat or for the company, remember to always enjoy the journey!
Ready to start your journey with baby chicks? Poultryperch has everything you need to know to raise healthy, happy chicks from day one. Our simple tips and expert advice make it easy to provide the best care for your growing flock. Contact us now and give your chicks a great start!
FAQs
Tips for raising a rejected baby chicken
Keep the chick warm in a secure brooder, provide chick starter feed and fresh water, and handle it gently to reduce stress. Ensure it has a comfortable space and consider adding a small mirror or stuffed toy for companionship.
How to raise baby chicks without a hen
Use a brooder with a heat source like a lamp or heating plate to keep them warm. Provide chick starter feed, clean water, and bedding, and handle them gently each day to help them feel safe and socialized.
Are baby chicks hard to raise?
Raising baby chicks isn’t hard but does require daily attention to keep them warm, fed, and in a clean environment. With some basic preparation, you can raise happy, healthy chicks.
Can a baby chick be raised alone?
While it’s possible, chicks are social animals and do best with at least one other chick for companionship. A lone chick may feel lonely or stressed, so consider adding a companion if possible.
Can a duck raise a baby chicken?
It is possible for a duck to raise a baby chick. However, a duck might not provide the warmth or care a baby chick requires, so it’s usually best to raise chicks with other chicks or in a brooder.