Best Paint for Chicken Coops
If you’re planning to paint your chicken coop, you might be wondering where to start. Choosing the right paint can make a huge difference for your coop and your flock. Not only does paint make your coop look nicer, but it also protects the wood from weather, pests, and wear. Let’s dive into the best chicken coop paint options and what to look for when painting your chicken coop.
Why Paint Your Chicken Coop?
First, let’s talk about why painting your chicken coop matters. A good paint job isn’t just about aesthetics; it’s about practicality, too. Here are some key benefits:
- Protects the Wood: Paint acts as a barrier against rain, snow, and sun. It helps prevent the wood from rotting or warping over time.
- Makes Cleaning Easier: A painted surface is easier to clean. Dust, dirt, and chicken droppings can be wiped away more easily compared to raw wood.
- Prevents Pests: Some paints can deter pests like mites and insects from burrowing into the wood.
- Keeps Things Hygienic: A clean and well-maintained coop promotes good health for your chickens.
- Adds a Personal Touch: You can choose colors that suit your backyard or reflect your personality. Bright colors like red or green can make your coop a cheerful focal point.
What to Look for in Coop Paint
Before you pick up a can of paint, there are a few factors to keep in mind:
- Non-Toxic Formula: Chickens are curious creatures and might peck at the walls. Make sure the paint you choose is non-toxic and safe for animals.
- Durability: Look for exterior-grade paint that can withstand weather changes and last for years.
- Breathability: The paint should allow the wood to breathe, preventing trapped moisture that could lead to rot.
- UV Protection: If your coop is in a sunny spot, UV-resistant paint will help maintain its color and integrity.
- Ease of Cleaning: A semi-gloss or satin finish works best for easy cleaning.
- Quick Drying: Paint with a quick-drying formula can make the process smoother, especially if you’re painting in sections.
Preparing Your Coop for Painting
Prep your chicken coop before you start painting. Here’s how to get your coop ready:
- Clean the Coop: Remove all dirt, dust, and chicken droppings. A clean surface ensures better paint adhesion.
- Sand the Wood: Smooth out rough spots and remove any peeling paint. Sanding helps the paint stick better.
- Repair Any Damage: Fill cracks or holes with wood filler and replace any rotten wood.
- Prime the Surface: Apply a primer to seal the wood and create a uniform base for your paint. This step is especially important for raw or previously untreated wood.
- Move Your Chickens: Temporarily relocate your flock to avoid exposing them to paint fumes or wet surfaces.
Tips for Painting Your Chicken Coop
Now that your coop is prepped, it’s time to start painting. Keep these tips in mind:
- Choose the Right Weather: Paint on a dry day with moderate temperatures. Avoid painting in direct sunlight or when it’s too humid.
- Use a Brush and Roller: A brush is great for corners and edges, while a roller can cover large surfaces quickly.
- Apply Thin Coats: Multiple thin coats are better than one thick coat. This ensures even coverage and prevents dripping.
- Let It Dry Completely: Allow each coat to dry fully before applying the next one. Follow the drying time recommended on the paint can.
- Ventilate the Area: Keep the area well-ventilated while painting and during the drying process to reduce fumes.
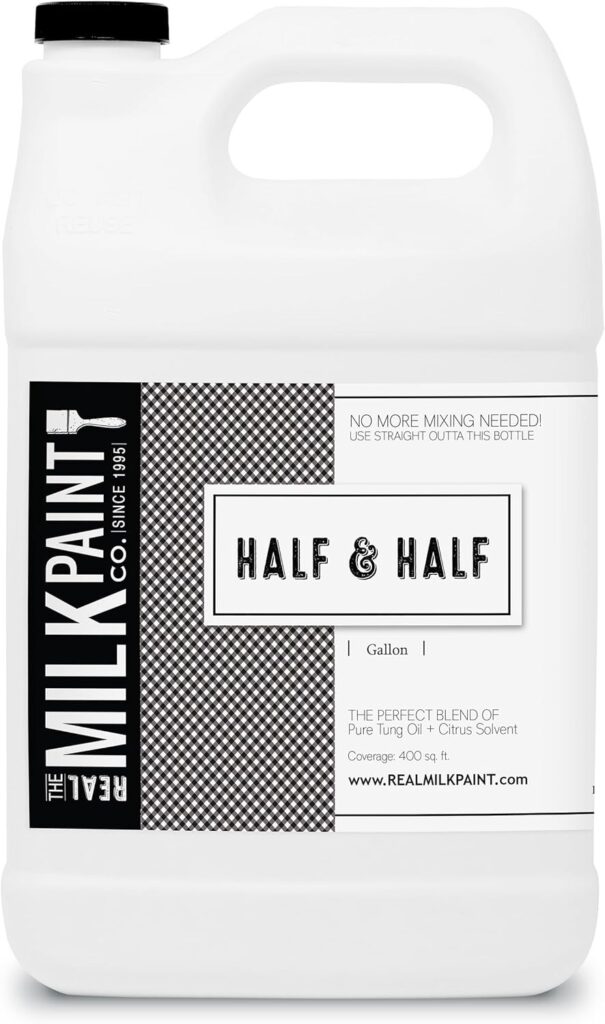
Milk Paint
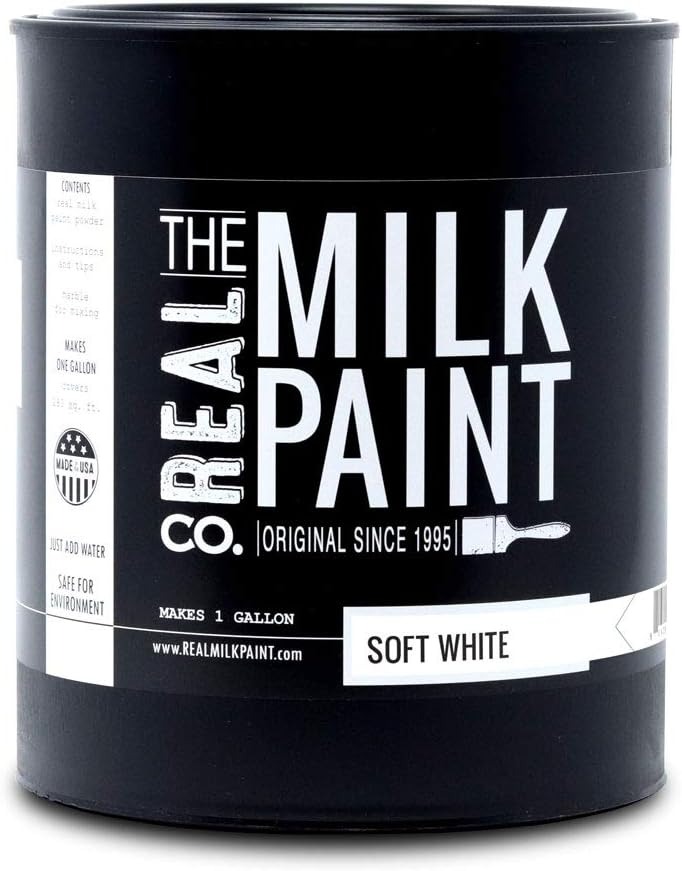
Made from casein, lime, earth pigments, and sometimes clay, it’s one of the best chicken coop paints in the market.
What I Loved
Using Milk Paint on raw wood was a dream. It’s super easy to apply, and I could tell it was made for this kind of surface. If you’re thinking of painting over existing paint, though, this isn’t the product for you. For me, starting with raw wood gave the coop a rustic, natural look that fits perfectly in my backyard.
One thing I found fascinating was how the lime in Milk Paint can help repel parasites—a bonus for chicken owners like me who are always looking for ways to keep the flock healthy. I also appreciated that the paint is non-toxic and VOC-free, which means my chickens’ environment is as safe as can be.
Colors and Customization
The Real Milk Paint Co. offers a variety of Toy Safe En-17 colors that are extra safe for animals. I opted for Bayberry Green, which gave the coop a cozy, earthy vibe. If you’re into bright and bold, there are options like Scarlett and Marigold Yellow, but keep in mind that Tung Oil—which you’ll want for durability—does darken and dull the colors a bit. When I coated my Bayberry Green with Tung Oil, it deepened into a rich, muted tone that I actually ended up loving.
Tung Oil
Speaking of Tung Oil, it’s a must if you want the paint to last outdoors. The topcoat makes the wood waterproof and durable enough to handle the wear and tear of coop life. I even used it on the coop floor, and it’s holding up beautifully. Just be aware that Tung Oil will highlight any unevenness in the paint, so I’d recommend applying two or three coats of Milk Paint to get a smooth finish.
Overall, Milk Paint is a fantastic option if you’re looking for a natural, safe, and easy-to-use paint for your chicken coop. It’s not as quick to apply as some other options, but the end result is worth the extra effort. Just make sure to seal it with Tung Oil for durability, and you’ll have a coop that’s not only beautiful but also practical and safe for your chickens.
Clear Sealant
When it came time to finish my chicken coop with a clear sealant, I decided to explore natural drying oils. These penetrating oils not only protect the wood but also give it a gorgeous finish—perfect for my rustic coop.
Tung Oil
Let me start with Tung Oil, which I’ve used before. It’s incredibly safe and durable once it’s fully cured. I applied it directly onto the raw wood, and while it did darken the natural wood color, I found the rich, warm tone it created absolutely beautiful. One thing to keep in mind: Tung Oil requires multiple coats to get that perfect finish. I spent a few afternoons layering it on and letting each coat dry properly, but the effort paid off. The wood now feels smooth and is well-protected from the elements.
Rubio Monocoat Hybrid Exterior Wood Protector
If you’re looking for something quicker, Rubio Monocoat Hybrid Exterior Wood Protector is a fantastic alternative. This product only needs one coat, which is a huge time-saver compared to Tung Oil. I used the clear option, and it left the wood looking natural while still providing a solid protective layer. The curing time without the optional accelerator is seven days, so plan accordingly. I appreciated that it didn’t darken the wood as much as Tung Oil, which was great for keeping the lighter tone of my coop’s natural wood intact.
Another thing I loved about Rubio Monocoat is how easy it is to apply. A single coat covered the entire coop with minimal effort, and I could see it soaking into the wood beautifully. The company guarantees it’s safe for chickens after the curing period, so I felt confident about using it for my flock’s home.
Linseed Oil
For those who prefer Linseed Oil, it’s another great option. I didn’t personally use it on my coop this time around, but I’ve tried Rubio Monocoat’s Linseed Oil-based products in the past. They’re not as pure as Tung Oil since they include modified oils and waxes, but they’re still non-toxic and safe for animals. If you’re in a rush, Rubio Monocoat’s faster curing time might make it the better choice here, too.
My Recommendation
If you’ve got the time and patience, go with Tung Oil. It’s durable, natural, and gives the wood a deep, rich finish. But if you’re short on time and want something easier, Rubio Monocoat Hybrid Exterior Wood Protector is an excellent option. Either way, your chicken coop will look fantastic and be well-protected for years to come. Just don’t forget to stick to the manufacturer’s recommended curing times to ensure it’s safe for your poultry.
Chicken Coop Paint Colors
The color of your chicken coop is more than just a style choice. It can have practical benefits, too:
- Light Colors: Reflect sunlight and keep the coop cooler in the summer. White, beige, or pastel shades work well.
- Dark Colors: Absorb heat and can help keep the coop warmer in winter. Consider dark green, brown, or navy blue.
- Bright Colors: Add a cheerful touch and make the coop stand out in your yard. Popular choices include red, yellow, and turquoise.
How Often Should You Paint a Chicken Coop?
A good paint job can last several years, but the frequency depends on the paint quality and your local weather conditions. Inspect your coop regularly for peeling or fading paint. Touch up as needed to maintain its protective layer.
Looking for more tips and trusted recommendations to keep your chickens happy and healthy? From coop finishes to flock care, PoultryPerch has you covered. Dive into our expert guides and create the perfect environment for your poultry today!

Painting your chicken coop is a rewarding project that benefits both you and your flock. With the right paint and preparation, you can protect your coop from the elements, make cleaning easier, and create a space that’s both functional and beautiful.